
Hello all you crafty ladies!!! (and gents, dont be ashamed if you're a gent)
So if you read the post previous to this one, you were forewarned of my up and coming diy project. today i decided to take a trip to the local Michael's and buy all the supplies i needed so i could get started because i was just SO excited!!!!! i spent a little more than i would have liked but i still got a good deal and it was worth every penny anyways! so without further word vomit and story telling, here's how i made my earring organizer :)

Here's what i bought.
1. a shadow box
2. paints (multiple because they were on sale)
3. a brush
4. a small box
5. sponge foam
Ok so i lead, i'm gonna rant a little bit in between pictures, just because i find some diy posts out there just aren't quite detailed enough. and i figure if you just want to look at the pictures, they're there for ya :).
so this box was on for 40% off and still cost me over 30 bucks. now for most that can be quite pricey, but i have looked high and low for a solution to this problem and this was by far the best so it was worth the extra couple bucks (if you wanna save a TON here's another option, it just isn't quite as clean and takes more effort on your part) (also my earring collection is a tad bit larger than most so you don't have to get one as big as mine... it'll cost you less if you downsize)

because this box was designed to showcase jewellery, there was a thick pad of styrofoam at the bottom covered in velvet. i just grabbed my butter knife and pried her out (carefully)

tada!

then i grabbed my sponge brush and applied my first coat.
(now i don't necessarily recommend a sponge brush for this, especially if you're gonna be painting the outside of the box. it will leave streaks. but it was just the cheapest thing i could find and this was just a little touch to add to the box anyways)

Now, because i can be a little bit of a perfectionist, when the sponge led the paint astray and out of the lines i would wipe it off. even when it's dry, this stuff does scratch off of the finish on the shadow box so it's no big (so if you're gonna paint the outside, buy mod podge or some other gloss seal finish to keep the paint from chipping)

Use scrap cardboard for your paint thingy (what are those called...?)

and don't forget to CLEAN your brush between coats. or it will get all crusty. i just used water and made sure the water rang out clear.

this is coat number three... almost there!!

oops... leaned into the paint. have you guys ever done this before?? cuz it seems to happen to me every time. (so make sure you're wearing some grubby clothes if you're like me!!)

aaand 4. good!!

see the streaks i was talking about? meh, no big to me.

I also painted my little box before cleaning my brush each time, cuz it took about three coats

now for the numbers. measure your box from inside corner to inside corner, cuz you're about to cut your foam square :)

mark the right measurements, trace it out, and snip snip!!

then carefully trace out a hole for your box and cut that out

i had to go back and trim mine to make it a little bigger so i didn't have to force it in once the lid was on. oops hah, but you cant even see this once the box is in.

i also recommend you cut your square just a little too big, or you'll end up with this ugly gap....

oops.....

ok!!! now i didn't have a printer so i had to get a little creative with this one. because i wanted my backing box to be a little more than just a solid color, i looked up a damask decal that i liked on the net and brought up the picture.

i taped a piece of paper to the screen and traced it out as best i could without applying too much pressure

i recommend using a different colored pencil than the color of the decal so you can tell which lines you've traced without lifting the paper a bajillion times :)
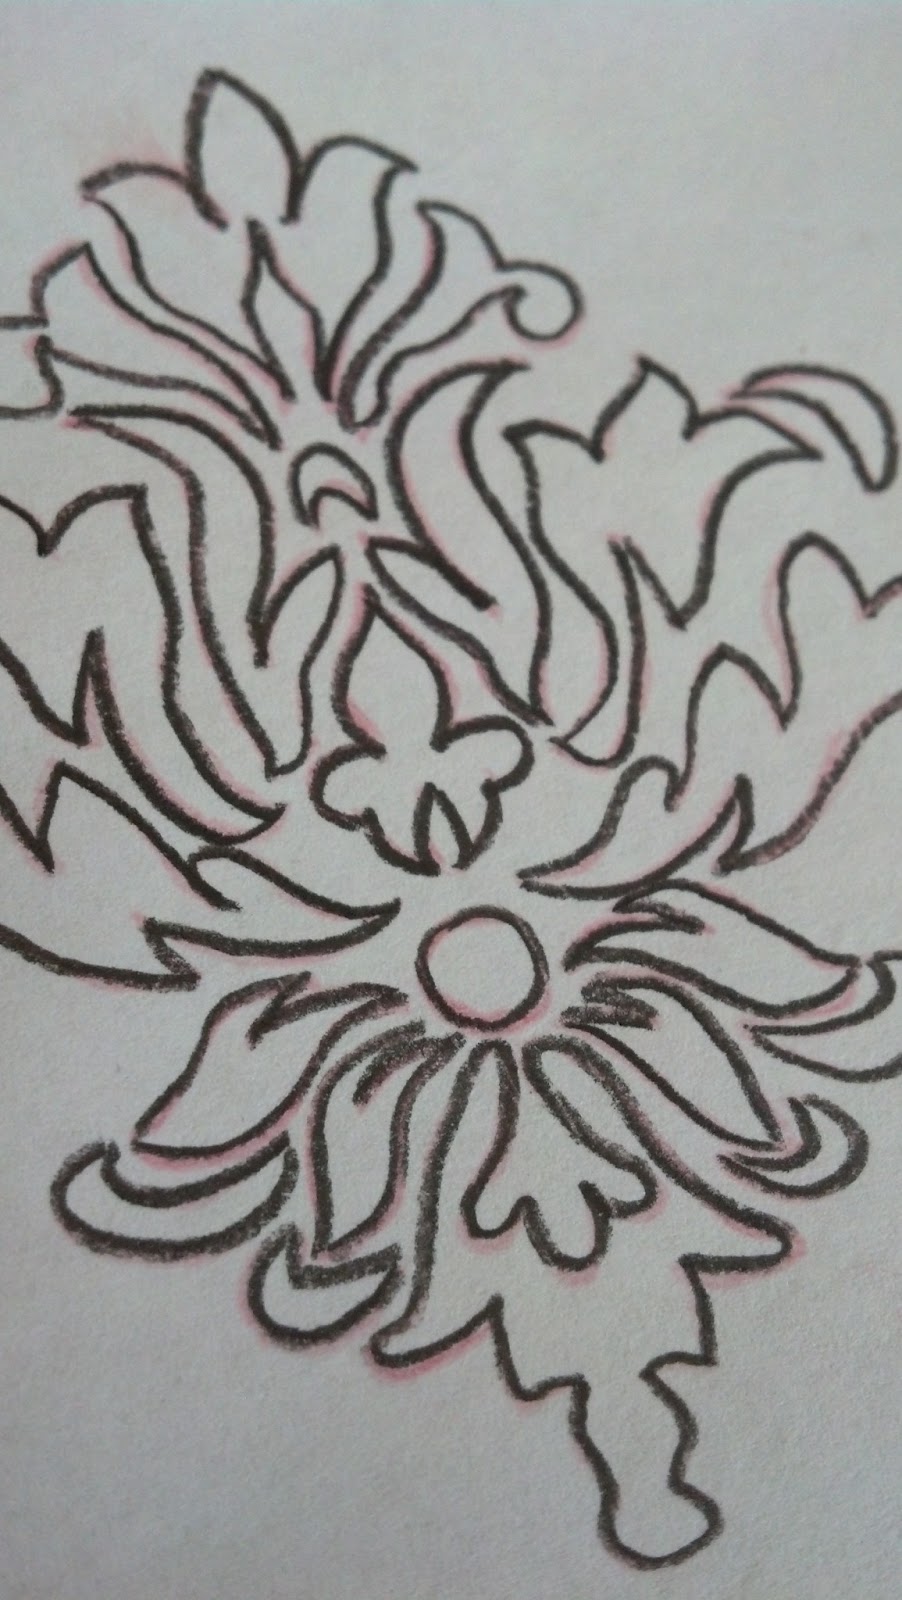
then grab a pencil with softer lead and trace some really dark lines over the ones you've already traced.

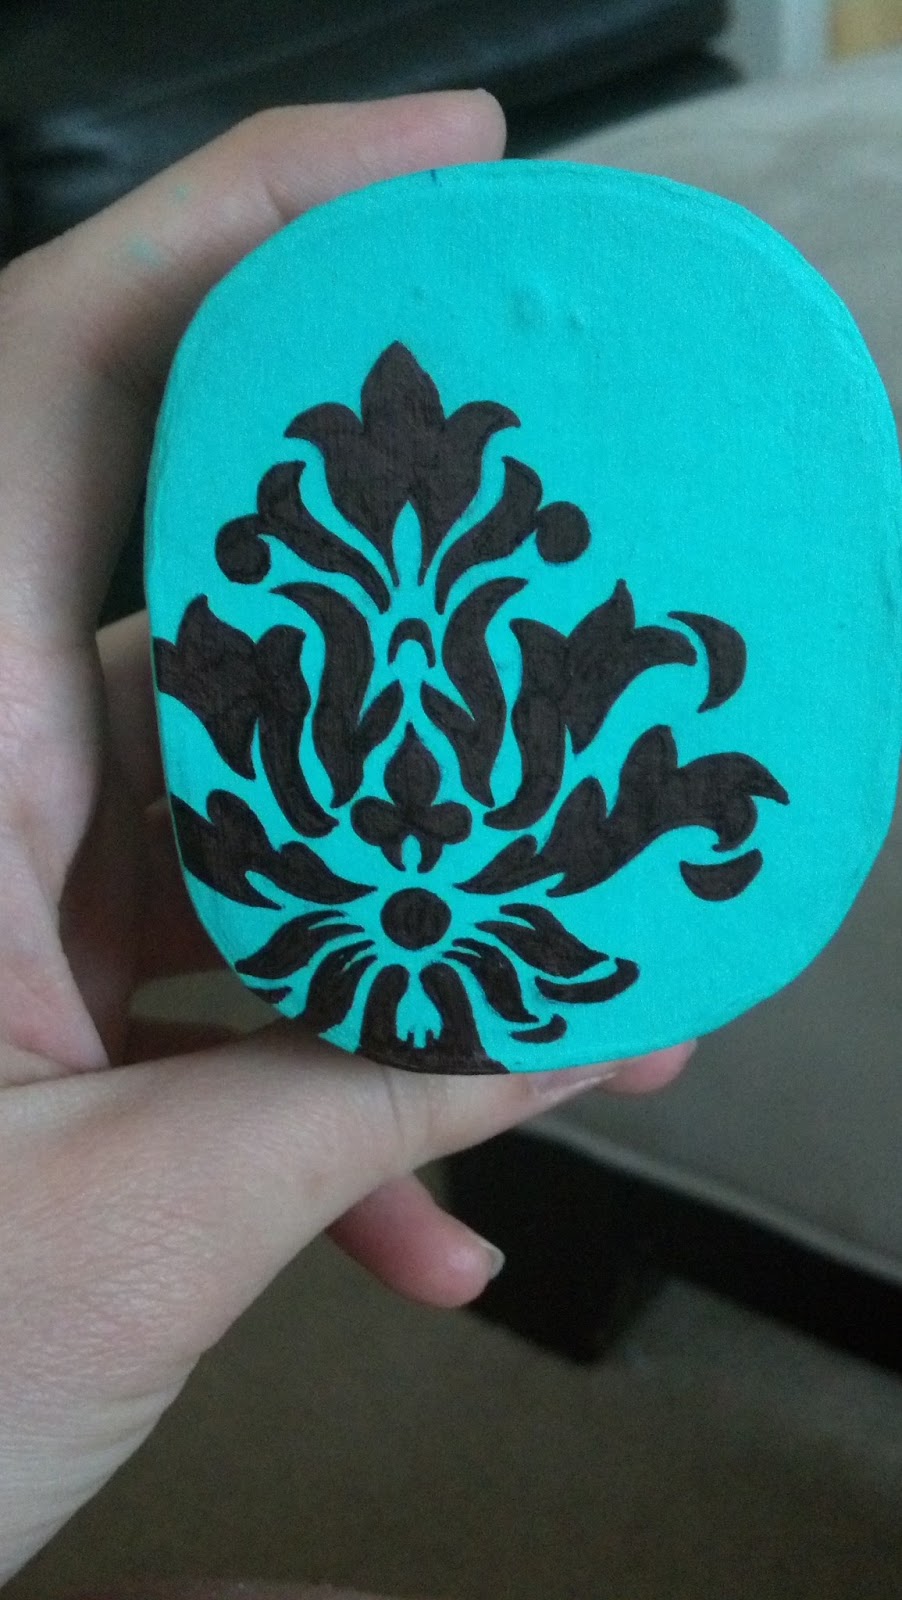
flip that sucker over and position it where you want the picture to be on the box and scratch the CRAP outta that sucker. make sure to keep it in place or the picture wont come out clear

and this is the result after the scratching

i went in with pen and lightly retraced over it so that my palm wouldn't rub the lead off when i filled in the decal with my handy dandy sharpie :)

coming along!!!! :)
tadaaaaa!!! <3 <3 so pleased with how this turned out!!!

that's a lot of backings. (i do suggest on your trip to Michael's that you grab yourself some rubber earring backings. they always get lost and i personally think they hold better than your standard metal backing anyways, so there ya go, win win :)

ain't she a beaut!!!
well, that's my diy for the next little while... hah, it was a blast and i love the way it turned out!! the great thing about keeping the foam in one big piece is you can stick dangly earrings in too!! (there wasn't quite enough room for all of my danglies but i am planning on making something else for those guys anyways :)
I hope you enjoyed reading as much as i loved creating!! let me know if and how you guys make your own box :) tata!!
No comments:
Post a Comment