
i was requested to start a blog based solely on diy-ing and getting the best for your buck, even and especially if it requires a little extra effort on my part. like this post will!! here's what i just made!!

isn't this so cute!!!!
i once took a trip to hawaii, and it was there that i saw a mini wristlet sized lanyard. i wanted one so bad! but all the ones there were oober tacky... hah so a while back i bought some material at a thrift store (for 50 cents) not knowing what i would do with it. and then a couple days ago i had this epiphany!! DUH! so i went about my little project :) not i took pictures, but a couple of them are missing since this was my first time doing this and i am not that experienced a sewer hah. momma gave me a lot of tips. but enjoy none the less!!

WHAT YOU WILL NEED
material (my strip came out to about 15.5 inches long and 3 inches wide)
a fabric pencil (or a regular pencil will do just fine)
an old lanyard
scissors
thread (i used two colors, this will be explained later)
ruler
iron
AND
**if you're a perfectionist like me**
PINSS!!!!
STEP 1) IRON your fabric. the key to any good looking sewing project is to iron your fabric first. it makes a BIG difference!
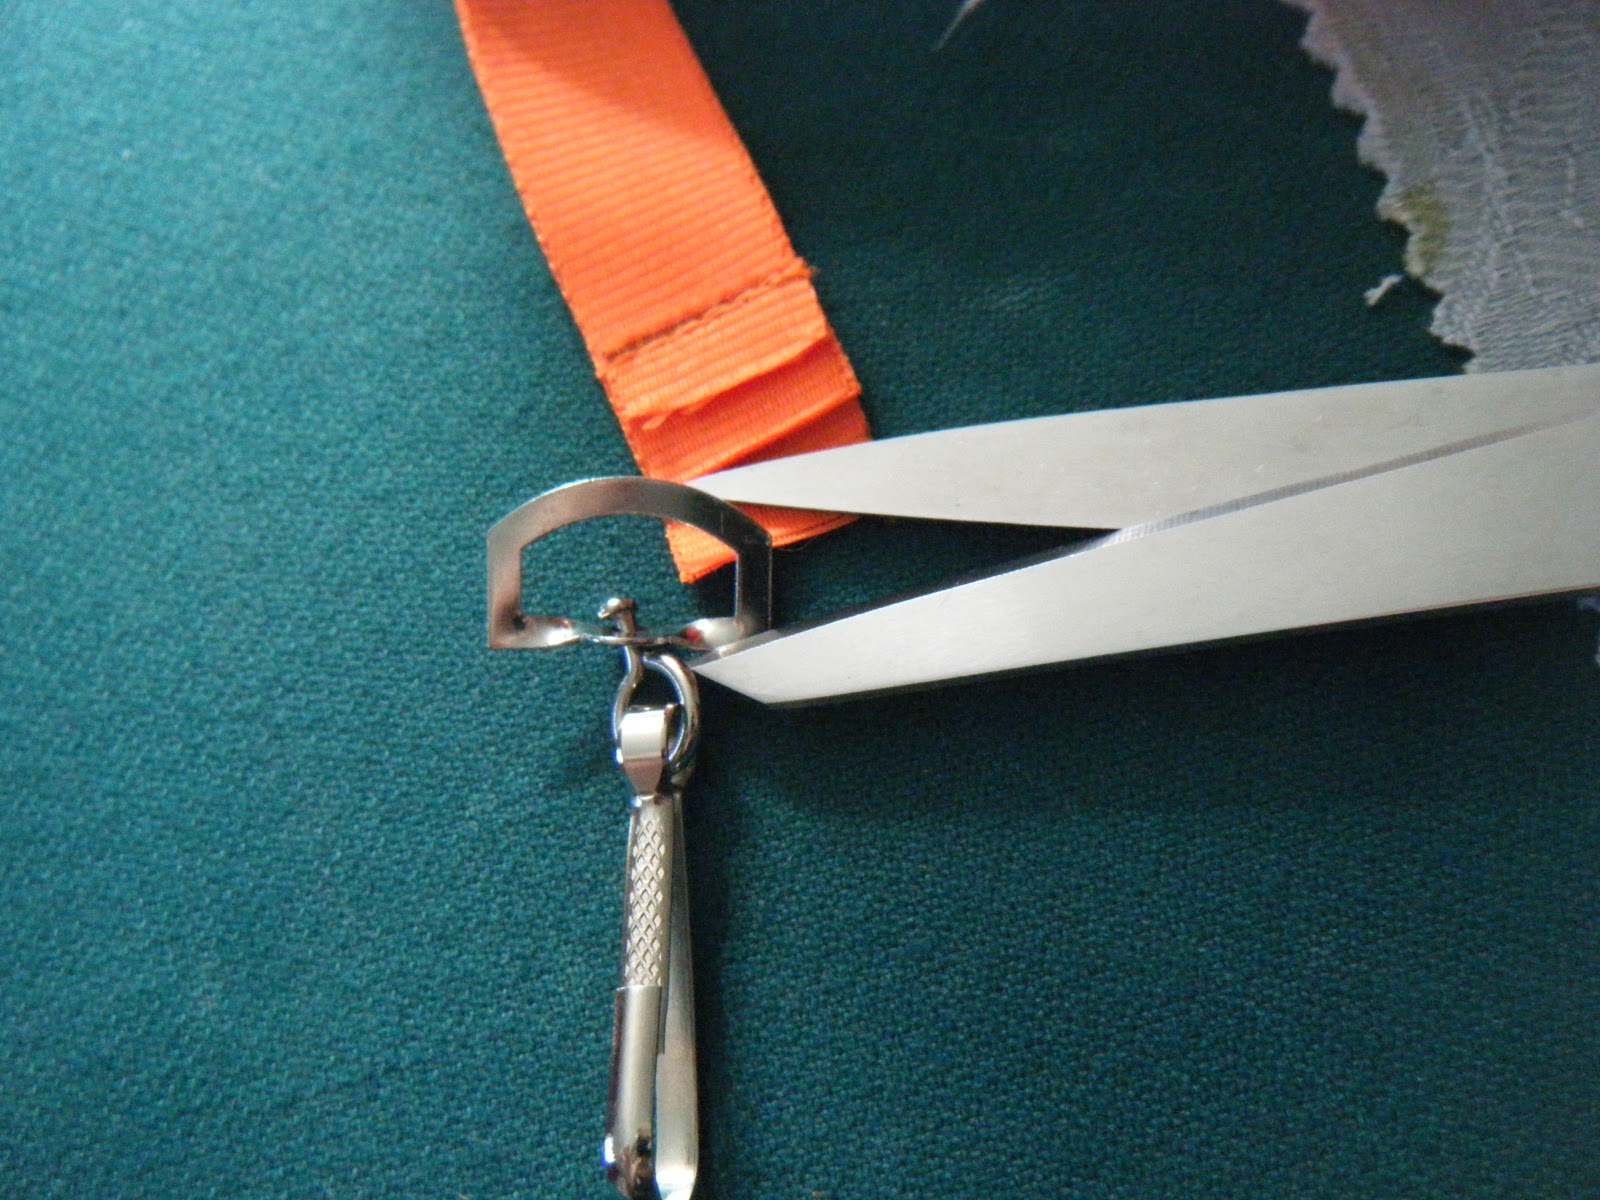
step 2) snip the hardware off your old lanyard

step 3) measure and trace the strip of fabric you want to use
**if you trace on a diagonal like i did, you will have to do an extra step that is optional for others. (but i HAD to have both of those pink roses!!)**

they're just so pretty!!!

step 4) snip snip!!
**do try to cut it as straight as possible! this will make the next couple of steps a lot easier!**

step 5) fold your fabric in half widthwise. PRECISELY
step 6) pin your fabric with the pointy ends of the needles facing away from the cut side of the lanyard
step 7) sew lengthwise using a thread color that is close to the fabric color. leave a large enough seam allowance that the fabric won't start to unravel, but small enough that you aren't sewing right down the middle of the fabric!! :) (between 1.5 and .5 cm)

step 8) flip 'er inside out!! :)

step 9) tuck in the raw ends and iron the whole thing flat.
**notice my seams are already done... i forgot this step.. hah oops!! (to fix it i just undid the stitch up about an inch)**

step 10) sew that shut :)
**make sure you put a few stitches through the material that was folded in, or it will unfold**

**now this is the step that is optional only for those who cut their material with the grain of the fabric**
step 11) ok now using your decorative thread color, sew lengthwise down the sides of your ironed tube :)

\step 12) thread on the hardware for your keys (this step might be different depending on the lanyard you cut up. and it can just be a metal key loop if that is all you have!)

step 13) now fold in half lengthwise and sew the ends together
**you may need to help your sewing machine along if your fabric choice was thick like mine**

step 14) now fold the loop back on itself. it should look something like this
**if yours looks bulky like mine because of the thickness of the fabric that's totally ok**

step 15) sew that bulky section closed!
**if you want this part to stay, and your machine has a reverse stitch, stitch along this part 3 or 4 times**
DONE!!! now you can throw your keys on it and show it off to all your friends!! :) be proud of your creation! i sure am!! :)
No comments:
Post a Comment